Hey guys! In honor of the Music City Hot Chicken Festival on the 4th of July, I'm gonna start a Hot! Chicken Series. Since Nashville is known for its hot chicken, I'll be giving extensive reviews of all of the hot chicken places around Nashville. I tried three new places in June, and I came to Hattie B's three times if that lets you know how I feel about them. I've never seen
Translate
Showing posts with label Tuesday Tasties. Show all posts
Wednesday, July 1, 2015
Tuesday, February 24, 2015
Tuesday Tasties: Chicken Pot Pie(Semi-Fail)
What's going on? Today on Tuesday Tasties, we'll be making chicken pot pie. This is a southern classic comfort food that is sure to please everyone. And don't think that you'll have to make some elaborate crust because this uses pancake mix! It's easy and it's delicious. Let's get started.
Tuesday, February 17, 2015
Tuesday Tasties: Homemade Caramel Sauce(FAIL)
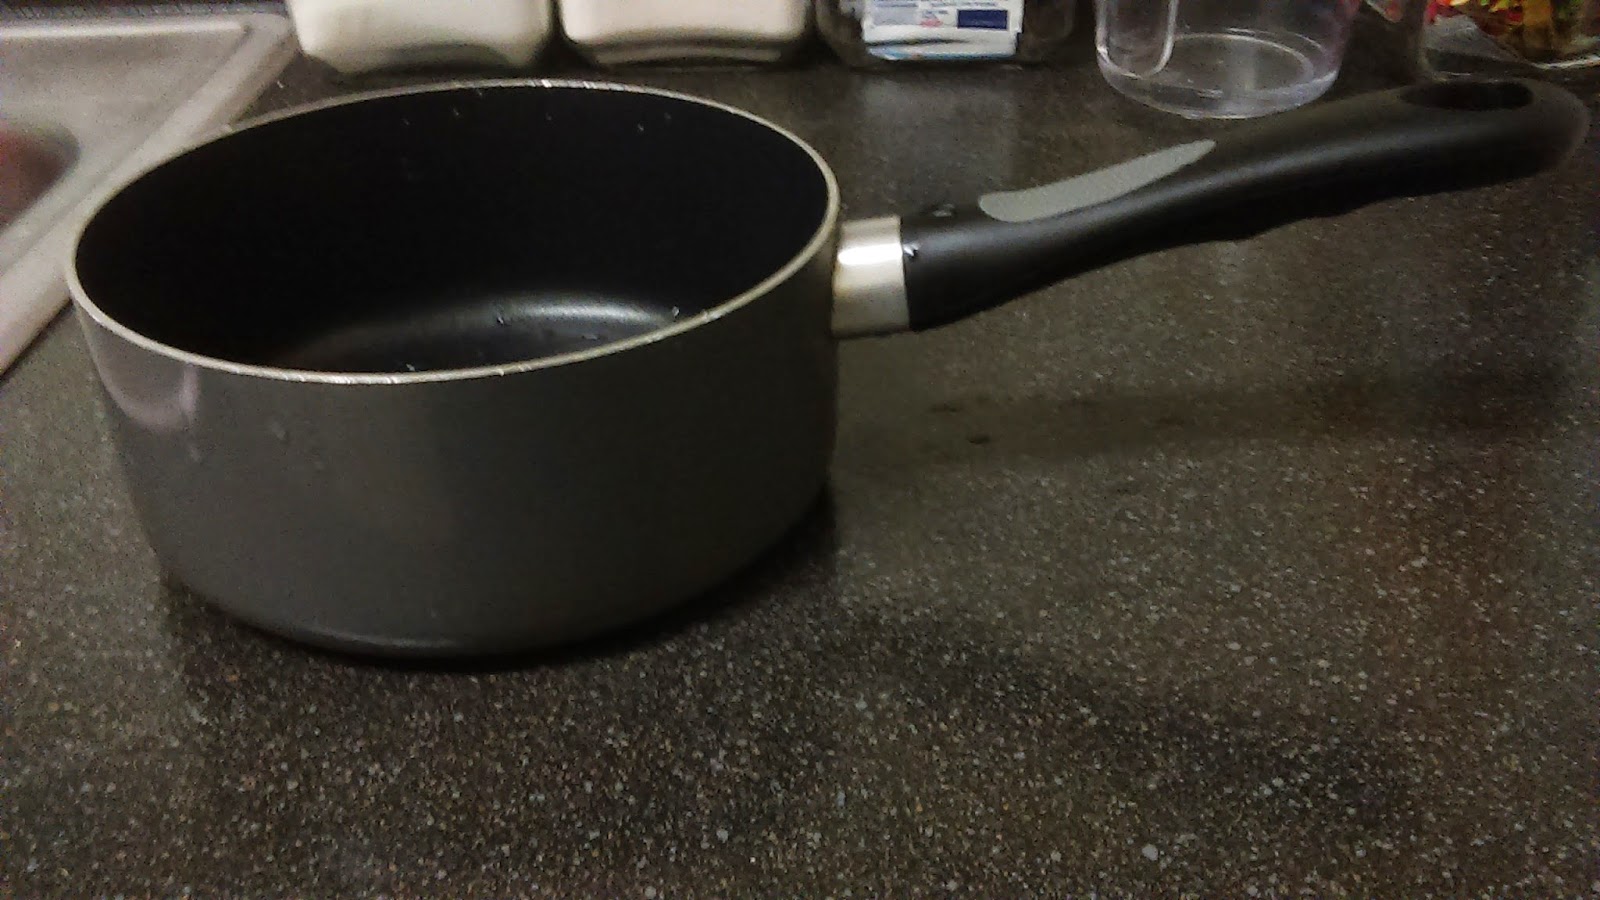
Hey everybody! For those of you still in school, specifically Metro, I hope you're enjoying this week off from school. On this day off, I decided to make homemade caramel. I was shocked when I discovered that it only takes two ingredients: sugar and water. It seems almost too easy, and this time I was right. I burned mine a little :-/ It wasn't visibly burnt, but you could taste it; however, I decided to post it anyway so that I can maybe prevent some of you from making the same mistake I made, which was leaving it on for "just a little longer". Next time, which may very well be tonight, I'll definitely pull it off earlier to avoid that burnt taste. Anyway, let's get started.
Ingredients:
1 cup of sugar
3/4 cup of heavy whipping cream
1/4 cup of water
2 tablespoons of butter
1 teaspoon of vanilla extract(optional)
Step 1: Combine your water and sugar in a medium saucepan and put it on medium heat.
Step 2: This is a very basic process, but also very easy to mess up. All you have to do is swirl the saucepan around to promote even caramelization. DO NOT STIR. I know how bad you want to stir, but DON'T. The mixture will bubble up and eventually begin to change colors. This takes a little while, but be patient. Trust me, it will change colors eventually. The bottom right picture is about the time that it started to change colors as you can see.
Step 3: If you are making your caramel as you read this, now is the time to read the rest of the directions. The rest of the process happens very quickly and without pauses in the middle, so you won't have time to read the directions and then do what it says. Now you wait and watch. The color changing process will happen very quickly. When it gets to the color of the left picture shown below, take it off. If it gets to the color pictured on the right, you've probably burnt your caramel.
Step 5: Add your butter and stir it until it is all melted. At this point you can use your caramel sauce however you like, or you can add in different flavorings. I chose to add vanilla to mine.
Tuesday, January 6, 2015
Tuesday Tasties: Pizza Casserole
Hey everybody! Welcome to Tuesday Tasties. Today I'll be showing you all how to make pizza casserole. Can't decide between pizza and pasta but don't wanna eat both? This is an easy way to get the best of both worlds in one dish. Let's get started.
Ingredients:
1 box of the pasta of your choice
1 package of pepperoni
1 small log of mild sausage
2 eight ounce packages of mozzarella cheese
2 cans of Prego pizza sauce
Tools:
1 large pot to boil pasta
1 ladle
1 11x15 glass pan
Step 1: Preheat oven to 350 degrees.
Step 2: Bring a pot of water to a rapid boil. Add pasta and cook for 11 minutes.
Step 3: While your pasta is cooking, put your mild sausage in a pan on medium-high heat. Ground up and cook until brown.
Step 4: When your pasta is al dente, drain in a colander and put it back in the pot. Then, drain your sausage.
Step 5: Now you are ready to build your casserole. Take your glass pan and pour enough pizza sauce in it to just cover the bottom.
Step 6: Next, add a layer of your pasta.
Step 7: Next, add some cheese.
Step 8: Repeat the process above with one more layer of each component, this time adding cheese on top of the sauce instead of more pasta.
Step 9: Now, add the rest of your sauce and all of your sausage on top of the pasta.
Step 10: Sprinkle the rest of your cheese on top of the sausage.
Step 11: Add your pepperoni in an even layer over the entire casserole.
Step 12: Bake for 20-30 minutes.
Step 13: Take your casserole out and allow it to cool for about 10 minutes. Then, enjoy!
Ingredients:
1 box of the pasta of your choice
1 package of pepperoni
1 small log of mild sausage
2 eight ounce packages of mozzarella cheese
2 cans of Prego pizza sauce
Tools:
1 large pot to boil pasta
1 ladle
1 11x15 glass pan
Step 1: Preheat oven to 350 degrees.
Step 2: Bring a pot of water to a rapid boil. Add pasta and cook for 11 minutes.
Step 3: While your pasta is cooking, put your mild sausage in a pan on medium-high heat. Ground up and cook until brown.
Step 4: When your pasta is al dente, drain in a colander and put it back in the pot. Then, drain your sausage.
Step 5: Now you are ready to build your casserole. Take your glass pan and pour enough pizza sauce in it to just cover the bottom.
Step 6: Next, add a layer of your pasta.
Step 7: Next, add some cheese.
Step 8: Repeat the process above with one more layer of each component, this time adding cheese on top of the sauce instead of more pasta.
Step 9: Now, add the rest of your sauce and all of your sausage on top of the pasta.
Step 10: Sprinkle the rest of your cheese on top of the sausage.
Step 11: Add your pepperoni in an even layer over the entire casserole.
Step 12: Bake for 20-30 minutes.
Step 13: Take your casserole out and allow it to cool for about 10 minutes. Then, enjoy!
I hope you all enjoyed this recipe. Although it has a lot of steps, this is actually an easy recipe that doesn't take a lot of time to prepare. Also, this is a good dinner choice for that kid who only likes pizza and chicken fingers(my brother). Stay tuned for next week's recipe and have a good rest of the week. :-)
Tuesday, December 30, 2014
Tuesday Tasties: Coffee Infused Chocolate Frosting
Hey all! As part of the double feature because of my extended absence, I'm gonna show you a second recipe that I just discovered last night. I was sitting in the kitchen and I decided I wanted to bake; however, my mom had just told my sister it was too late to bake so I decided to mess around with some frosting recipes and make a cake(or brownies or cupcakes) today. I had a cookbook with one recipe in front of me and a website with another; I made neither. I added a lot more coffee than was recommended and it turned out great so without further adieu let's get to the recipe.
Ingredients:
2-3 cups of powdered sugar(about 3/4 of a standard box)
6 tablespoons of butter SPREAD(trust me)
1 1/2 teaspoons vanilla extract
1/4 cup of milk
1/4 cup unsweetened cocoa powder
3.5 grams instant coffee(or your desired amount) or leftover coffee
Basically, all you do is add the coffee, cocoa powder, milk, butter spread, vanilla, and powdered sugar(in that order) into one bowl and stir until it is smooth. Taste it and add coffee(and/or cocoa) until it is to your desired taste. I used an entire packet of instant coffee, which is 3.5 grams, and found a taste that I liked. Also, if you don't have butter spread, then you can use regular butter or margarine. We were out of butter, so butter spread was all I had to use; however, I found that butter spread made it easier to mix the frosting. It's up to you. You can spread this frosting over cakes, cupcakes, or brownies. I used it on a brownie in a mug first and it was wonderful! The recipe for the brownie in a mug was posted earlier if you decide to make it also. I hope you enjoyed this recipe and I'll see you later. :-)
Ingredients:
2-3 cups of powdered sugar(about 3/4 of a standard box)
6 tablespoons of butter SPREAD(trust me)
1 1/2 teaspoons vanilla extract
1/4 cup of milk
1/4 cup unsweetened cocoa powder
3.5 grams instant coffee(or your desired amount) or leftover coffee
Basically, all you do is add the coffee, cocoa powder, milk, butter spread, vanilla, and powdered sugar(in that order) into one bowl and stir until it is smooth. Taste it and add coffee(and/or cocoa) until it is to your desired taste. I used an entire packet of instant coffee, which is 3.5 grams, and found a taste that I liked. Also, if you don't have butter spread, then you can use regular butter or margarine. We were out of butter, so butter spread was all I had to use; however, I found that butter spread made it easier to mix the frosting. It's up to you. You can spread this frosting over cakes, cupcakes, or brownies. I used it on a brownie in a mug first and it was wonderful! The recipe for the brownie in a mug was posted earlier if you decide to make it also. I hope you enjoyed this recipe and I'll see you later. :-)
Tuesday Tasties: Brownie in a Mug
HELLO! It feels so good to be back on my blog. Ever since school started, I have been incredibly busy and haven't had any time to post on my blog, but I decided that I liked my blog too much to "not have time" to do it, so I am dedicating the rest of my winter break to making a fresh batch of posts for the next few weeks so that I can take my time coming up with new material for the later weeks. To end the year and bring us into the new year, I will post a recipe for a brownie in a mug. This is a simple recipe for those times when you have a killer chocolate craving but don't want to make an entire batch of brownies. Enjoy!
Ingredients:
4 tablespoons of all-purpose flour
4 tablespoons of sugar
2 tablespoons of unsweetened cocoa powder
1 egg
Add all of the ingredients into a medium to large mug and microwave for 60 to 75 seconds. The brownie should still be wet in the middle. Allow it to cool for 1-2 minutes. During this time, the brownie will set and finish cooking. Grab a spoon and a scoop of vanilla ice cream and enjoy! This is an easy recipe and can be fun to do with small children on rainy days or during school breaks. Or you can save it all for yourself ;-) I hope you all have enjoyed this recipe and as a treat for me being gone for so long, I will be posting a SECOND recipe in a little while that can go with this brownie. Stay tuned ;-) I hope to gain some new followers and subscribers with my new and creative posts that will be here in the coming weeks. Be sure to share this post with your friends and become a subscriber. See you next time :-)
Ingredients:
4 tablespoons of all-purpose flour
4 tablespoons of sugar
2 tablespoons of unsweetened cocoa powder
1 egg
Add all of the ingredients into a medium to large mug and microwave for 60 to 75 seconds. The brownie should still be wet in the middle. Allow it to cool for 1-2 minutes. During this time, the brownie will set and finish cooking. Grab a spoon and a scoop of vanilla ice cream and enjoy! This is an easy recipe and can be fun to do with small children on rainy days or during school breaks. Or you can save it all for yourself ;-) I hope you all have enjoyed this recipe and as a treat for me being gone for so long, I will be posting a SECOND recipe in a little while that can go with this brownie. Stay tuned ;-) I hope to gain some new followers and subscribers with my new and creative posts that will be here in the coming weeks. Be sure to share this post with your friends and become a subscriber. See you next time :-)
Tuesday, July 15, 2014
Tuesday Tasties: Stuffed Crescents
Hello, all. Today I'll be posting the first installation of Tuesday Tasties. You will get a glimpse of some of the things my family and I enjoy on a daily basis, and maybe even some recipes that are new to me too. The first recipe of this series will be stuffed crescents. Enjoy and feel free to leave pictures of your own version of this meal :-)
DISCLAIMER: I did use photos from the internet on this post(except for the finished product at the beginning of the post which is my own creation), but all Tuesday Tasties after this will feature my own photos throughout the entire post.
Ingredients:
10 boneless, skinless chicken tenderloins
2 bags of Green Giant Mixed Vegetables in Cheese Sauce
2 cans of Pillsbury crescent rolls
Seasoning for the chicken(I used seasoned meat tenderizer, seasoning salt, and poultry seasoning)
Flour(optional) to put the crescents on when stuffing them
Step 1: Preheat oven to 350 degrees Grill the chicken tenderloins to your liking. Cut the tenderloins into chunks and set aside.
Step 2: While the chicken is grilling, put the steamer bags of vegetables in the microwave and cook according to the bag's directions.
Step 3: Find a flat surface(I used a cutting board) to lay out the crescents so that they can be stuffed. You may want to lay down flour so that the crescents don't stick to the surface seeing as they will get warm after adding the hot vegetables and chicken. I unrolled one can at a time and stacked the crescents in a pile on the cutting board so that I could easily grab them as I went along.
DISCLAIMER: I did use photos from the internet on this post(except for the finished product at the beginning of the post which is my own creation), but all Tuesday Tasties after this will feature my own photos throughout the entire post.
Ingredients:
10 boneless, skinless chicken tenderloins
2 bags of Green Giant Mixed Vegetables in Cheese Sauce
2 cans of Pillsbury crescent rolls
Seasoning for the chicken(I used seasoned meat tenderizer, seasoning salt, and poultry seasoning)
Flour(optional) to put the crescents on when stuffing them
Step 1: Preheat oven to 350 degrees Grill the chicken tenderloins to your liking. Cut the tenderloins into chunks and set aside.
Step 2: While the chicken is grilling, put the steamer bags of vegetables in the microwave and cook according to the bag's directions.
Step 3: Find a flat surface(I used a cutting board) to lay out the crescents so that they can be stuffed. You may want to lay down flour so that the crescents don't stick to the surface seeing as they will get warm after adding the hot vegetables and chicken. I unrolled one can at a time and stacked the crescents in a pile on the cutting board so that I could easily grab them as I went along.
Step 4: Gently pull at the 3 ends of each crescent so that you can fold them on top of the crescent. Begin to stuff each crescent by pouring roughly 1 tablespoon of chicken and 2 tablespoons of mixed vegetables into the middle of each laid out crescent. Then, fold each end on top of the crescent so that it will close, and transfer it to a baking sheet. DO NOT GREASE THE BAKING SHEET. Repeat this for each crescent.
Step 5: Bake all of the crescents for 13-17 minutes or until the tops are golden brown. Let them cool for 5 minutes and enjoy :-)
I thoroughly enjoyed making these and, as I stated before, feel free to leave pictures showing your own take on this super easy recipe. Also, if you have any suggestions for other recipes for Tuesday Tasties, feel free to leave those in the comments. These recipes aren't just limited to entrees. I'll do drinks, desserts, snacks, ANYTHING. See you all next week :-)
Subscribe to:
Posts (Atom)